HOW I MADE THIS DIY FLUTED SIDE TABLE — luke arthur wells
Add Adhesive inside the line you traced on the bottom of the tabletop and place your "table base" on top and let dry for 24 hours. (I suggest that you leave the table upside down while it dries). Flip your table over and sand any rough spots with 220 grit sand paper if needed. (OPTIONAL) Apply paint or stain.

Fluted Side Table Side table decor, Living room side table, Diy side
Step Five: Attach Table Top. Once you've finished attaching your trim, the table is almost done! All that's left to do is grab your wood round and attach it to the top. I applied my Weldwood Pro Wood Glue to the support piece inside the form, as well as all around the form.

HOW I MADE THIS DIY FLUTED SIDE TABLE — luke arthur wells
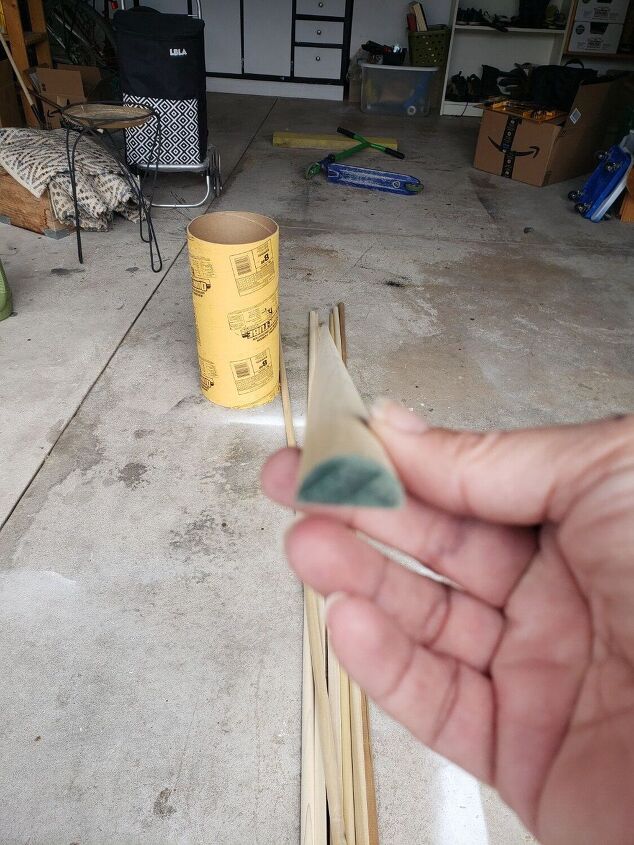
4. Cutting the Half Rounds. Visit your local lumberyard to obtain the half rounds. These will form the beautiful fluted design on your table base. Measure and cut the half rounds to the appropriate sizes to fit snugly around the base structure. Applying wood glue to the rounds. Attaching the half rounds. 5. Attaching the Half Rounds.
DIY Fluted Sidetable Hometalk
Step Three: Attach moulding to tube. Using wood glue, clamps and nail gun, attach half-round moulding to sono tube. (Note: My moulding sticks out a little farther than my sono tube…this is not necessary-I had cut my sono tube shorter than I wanted the table). Work your way around til you have covered all of the Sono Tube with moulding….

D.I.Y Fluted Side Table Tutorial — At Home With Savvy
I've now made a couple of these side tables, so thought I'd film the step by step DIY for my channel. If you want to find a list of materials I used, head ov.
DIY Fluted Sidetable Hometalk
Step 1- Trim the concrete mold to the desired height. I started the project by cutting my concrete mold to desired height. (I wanted my table to be 2 feet tall). Taking into account the width of the table top which is 0.75 inches, I cut my round mold to 23.25 inches to make it an even 2 ft in height. Cutting the round mold can be tricky so I.

HOW I MADE THIS DIY FLUTED SIDE TABLE — luke arthur wells Diy side
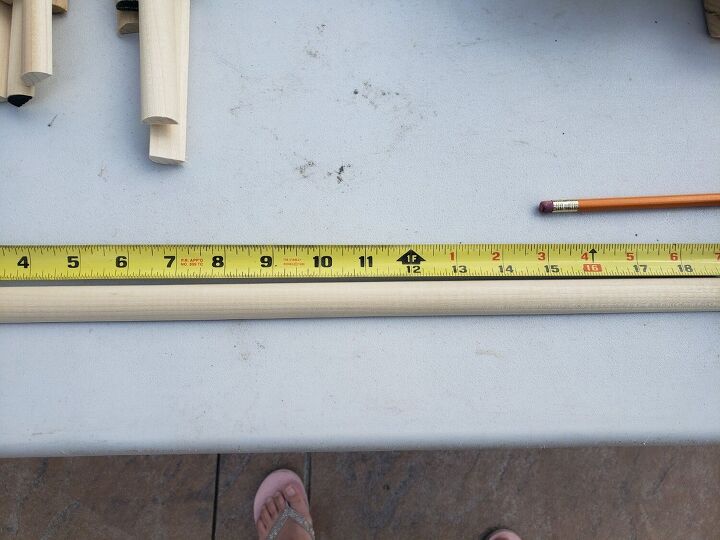
Tape three pieces of moulding together. Measure out two feet, and the cut the moulding using a hand saw or power saw. (We like using a compact handheld circular saw for this type of project.) The moulding is eight feet long, so you will get four pieces from each board. Cut 12 boards, making 48 pieces of moulding for the fluted table.

DIY Fluted Side Table Our Faux Farmhouse
DIY Fluted Side Table. March 25, 2021 October 2, 2022 Updated on October 2, 2022. Create your very own on trend furniture piece with our DIY Fluted Side Table Project. Have you noticed all of the fluted furniture in stores and in magazines lately? We love the look if the soft wood curves.

DIY Fluted Side Table Kismet House Diy side table, Diy end tables
Fluted tables are getting all the hype right now, but the price? Not so much. Today, Liz makes a more budget-friendly trendy fluted table, and we're actually.

How To Make A DIY Fluted Side Table (even if you're a bit rubbish at
STEP 4: Assembly. Starting with the top, the concrete tube is thin. I put a bead of construction adhesive around the top rim of the tube to attach the plywood top. Next, I laid out a few slats at a time, flat side up, and put a dab of wood glue at the top ¾" and then construction adhesive the rest of the way down.

DIY Fluted Side Table Diy side table, West elm diy, West elm side table
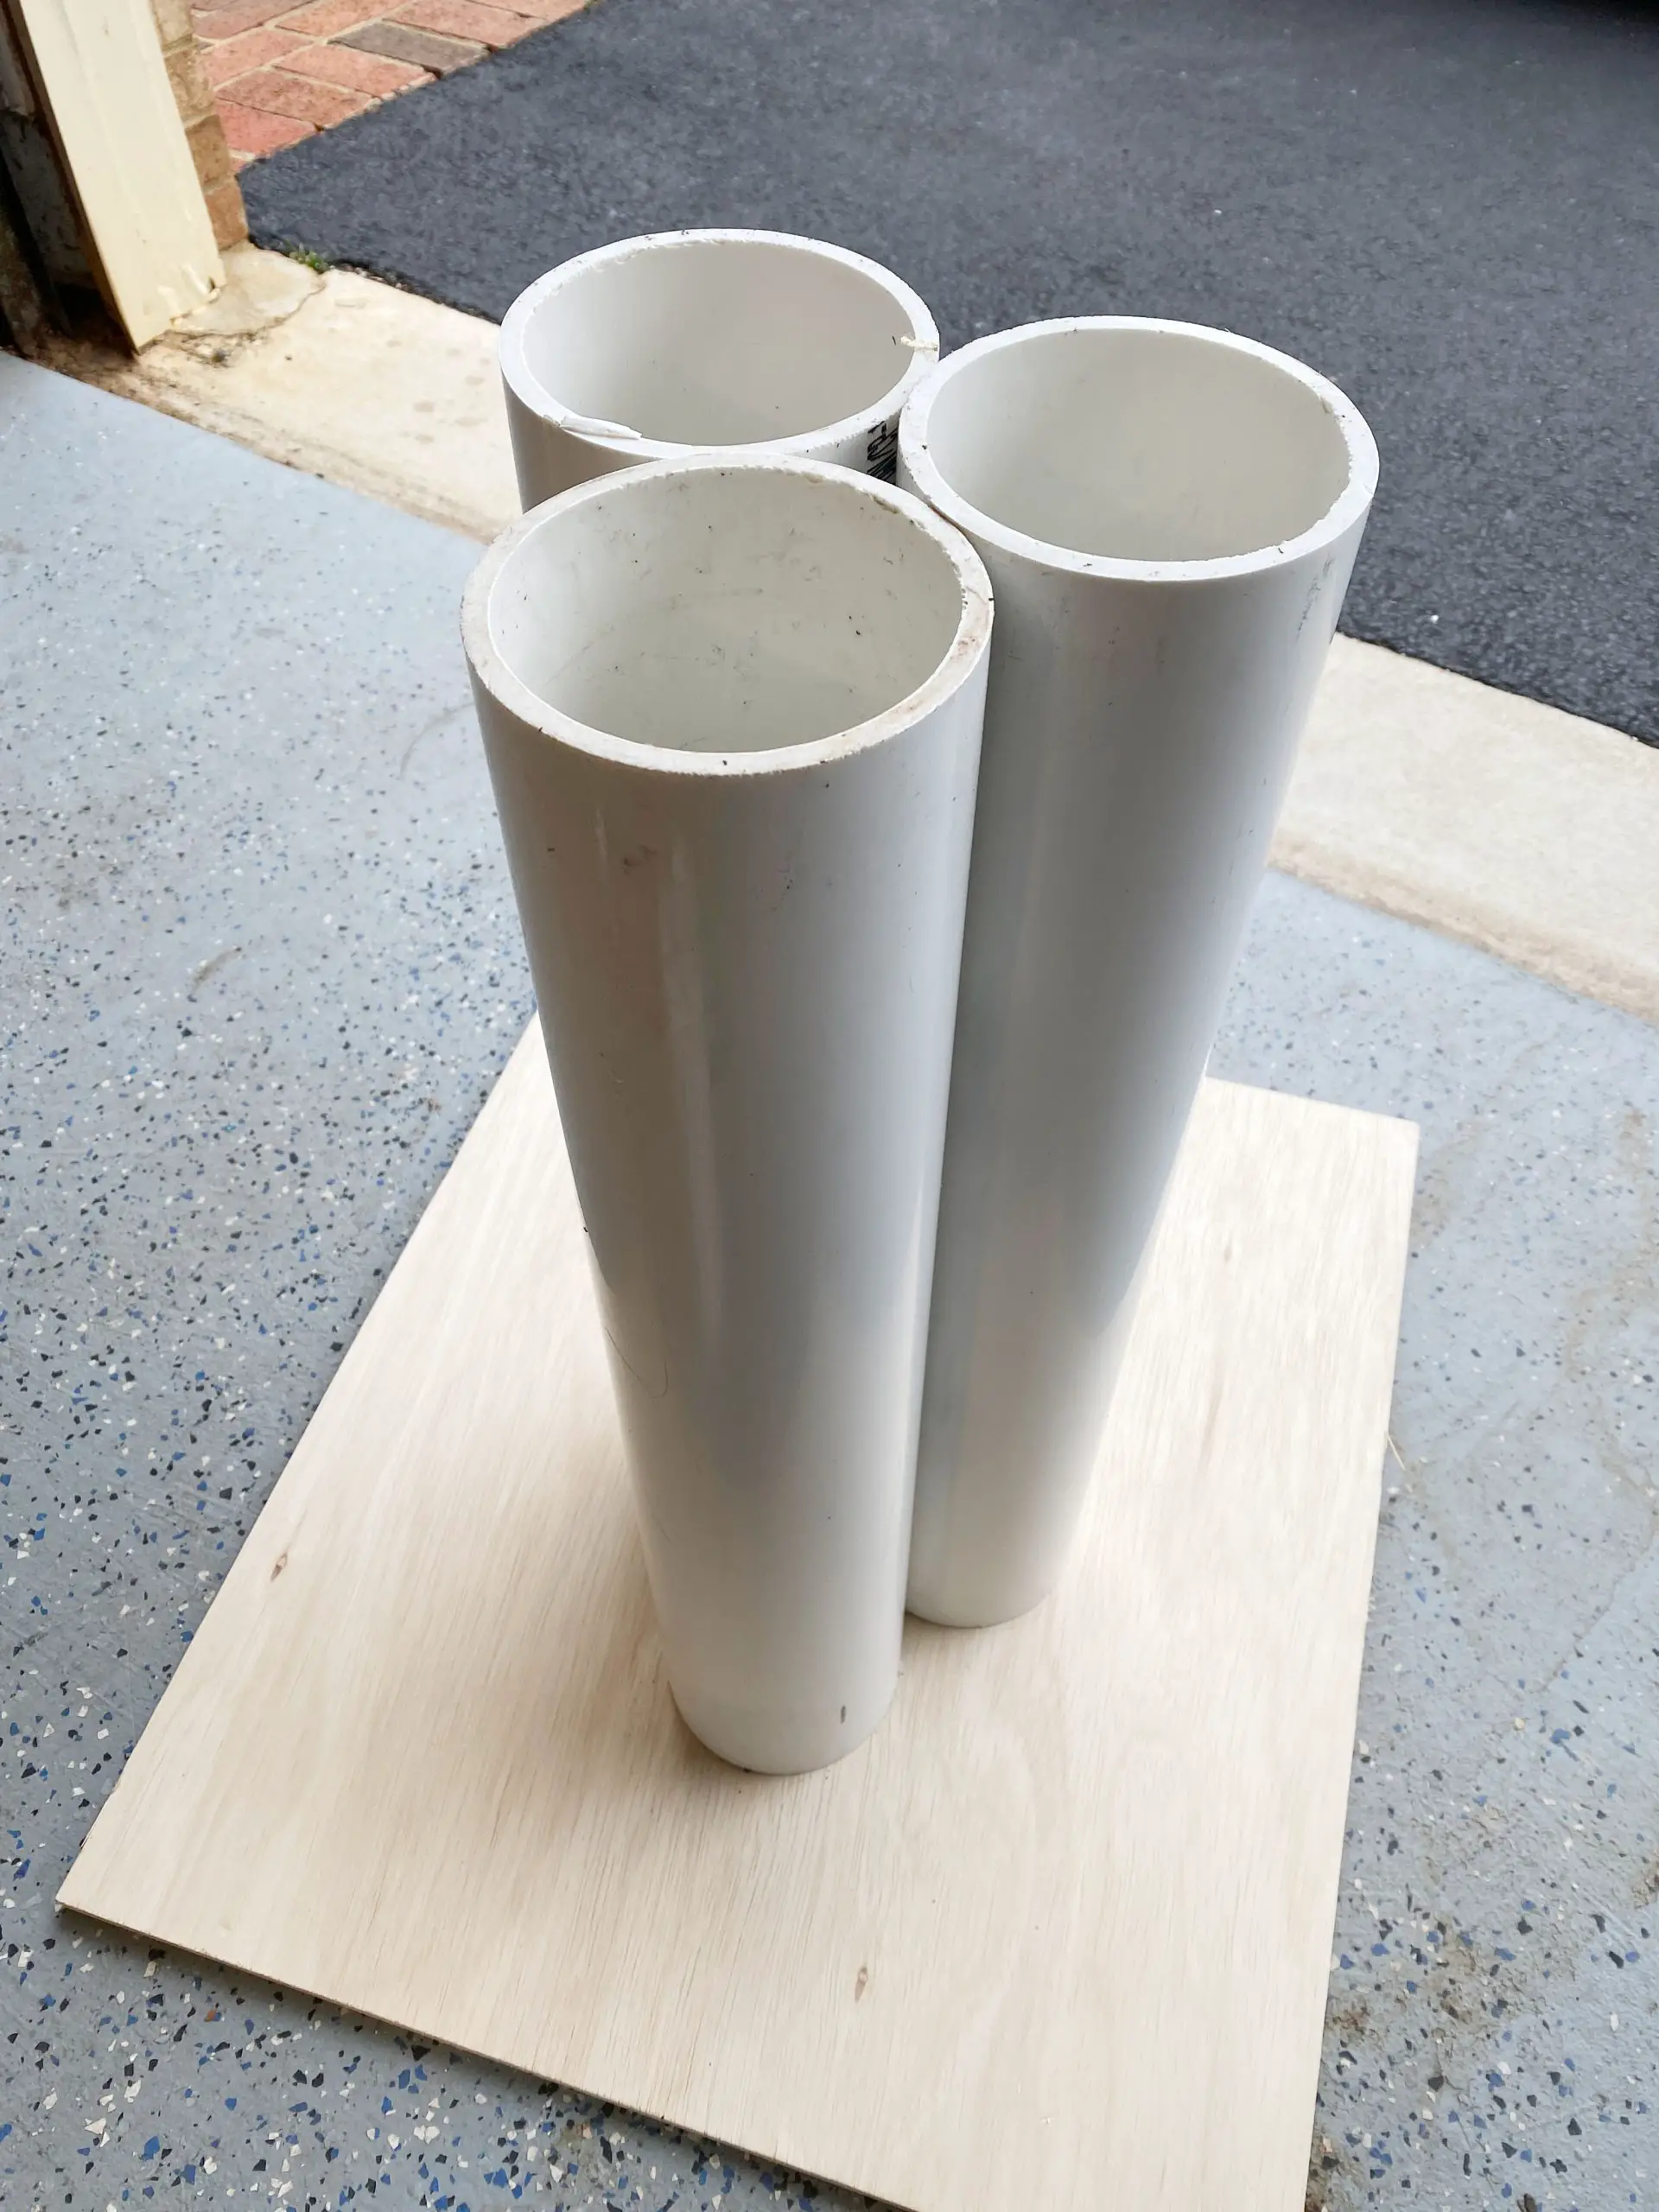
Place glue on the top of the PCV pipes and immediately place the 16-inch piece of wood on top. If you want to make sure it's perfectly centered, use a measuring tool underneath the tabletop to ensure the base is perfectly centered with the top. Let dry for 30 minutes to an hour. Now is the moment to paint!

How To Make A DIY Fluted Side Table (even if you're a bit rubbish at
PART 1: BUILDING THE FRAMES. Attach a 21in cut to either side of the 6.5in cut using wood glue and 2.5in screws. Attach another 6.5in cut to the top using wood glue and 2.5in screws. Tt will rest in between the 2 sides. The result will be a rectangular frame that is 21inches in height and 9.5inches wide.

DIY Fluted Side Table Diy flute, Diy side table, Fluted furniture
Learn how to make a beautiful fluted side table in just a few simple steps. This affordable DIY project is both beginner and budget friendly.. Home / DIY / Easy DIY Fluted Side Table Tutorial. DIY | DIY Furniture Projects. Easy DIY Fluted Side Table Tutorial. By Martina Gieske August 25, 2023 January 7, 2024.

Pin on Wichita Room
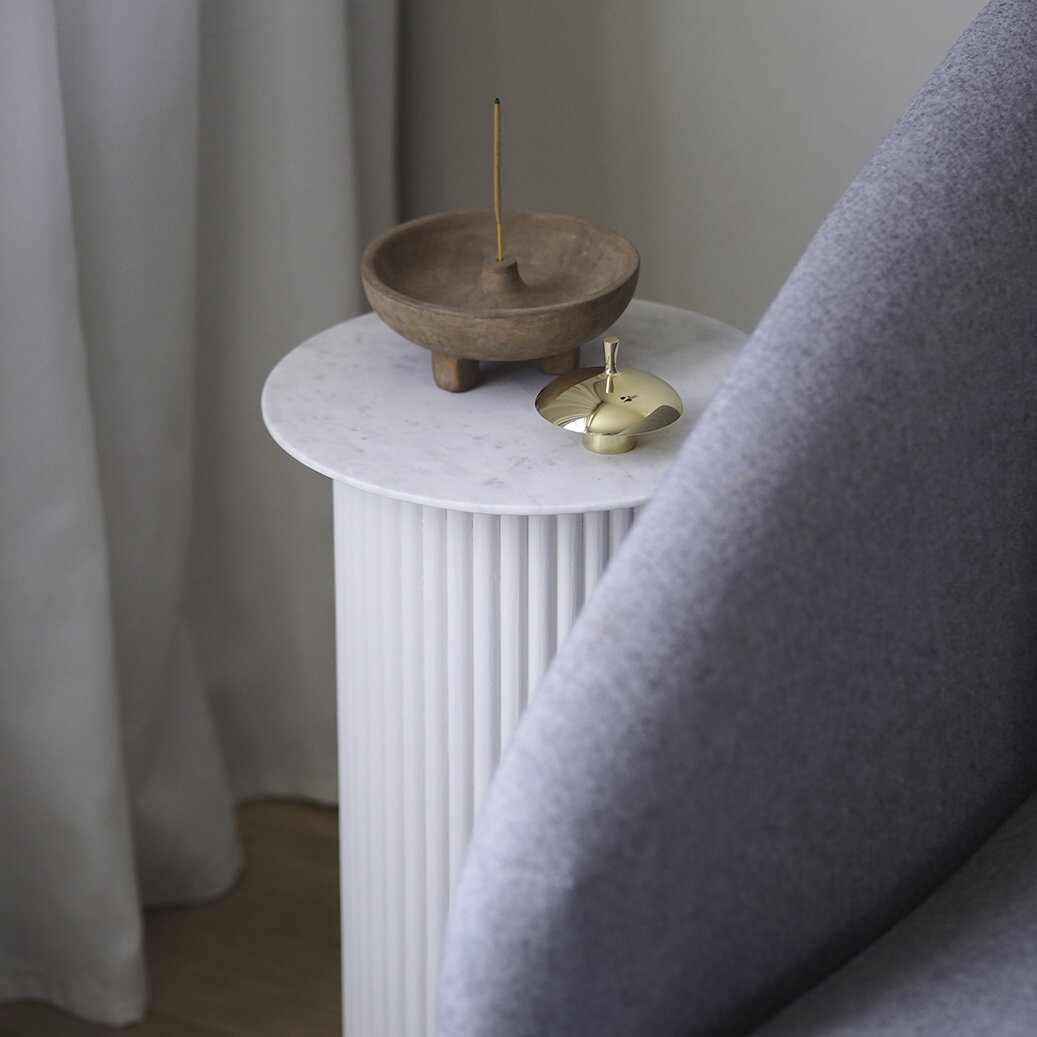
10. DIY Fluted Side Table. Image and plan by kismet-house. The sculptural element and its curves and lines gained from the fluted detail make this DIY fluted side table appealing. The marble top will bring sophistication to your space. It is one of the most rewarding DIY projects. 11. DIY Tile Side Table. Image and plan by aliceandlois

D.I.Y Fluted Side Table Tutorial — At Home With Savvy
Yellow Fluted IKEA Tarva Dresser Hack. The IKEA Tarva dresser, just like the Hemnes dresser, is another great dresser that IKEA Sells. This DIY hack takes the Tarva dresser and adds the fluting to create that stylish trend. It is then painted a beautiful shade of yellow to create a really unique and custom-made looking piece.
DIY a Fluted Side Table for under 100 City Chic Decor
Step 5 - Weighing the DIY Fluted Side table down . Because I decided not to put the other end of the spool back on to use as the bottom of the table, I needed a way to make sure it would stay upright. The base of the table is very narrow compared to the top of the table now, and I didn't want it to tip over. I decided to fill it with concrete.
