
Canning Granny Canning Taco Meat
Process the jars at 10 lbs of pressure (69 kPa) for 75 minutes for pints or 90 minutes for quarts. Adjust for altitude as needed, and remember to adjust your timing if the pressure drops below 10 lbs. Allow the canner to depressurize naturally. Remove the jars and let them cool on the counter for 12 hours.

Canned Meat for Sale Werling & Sons Inc
Ball says, "Drain contents of jar and shred meat (reserve broth.) Sauté a sliced onion in oil until soft; add beef and 125 ml (½ cup / 4 oz) of broth; simmer 10 minutes. Serve in warmed tortillas with taco toppings." Garnish the tacos with one of your home-canned salsas, if desired.

Canning Granny Canning Taco Meat
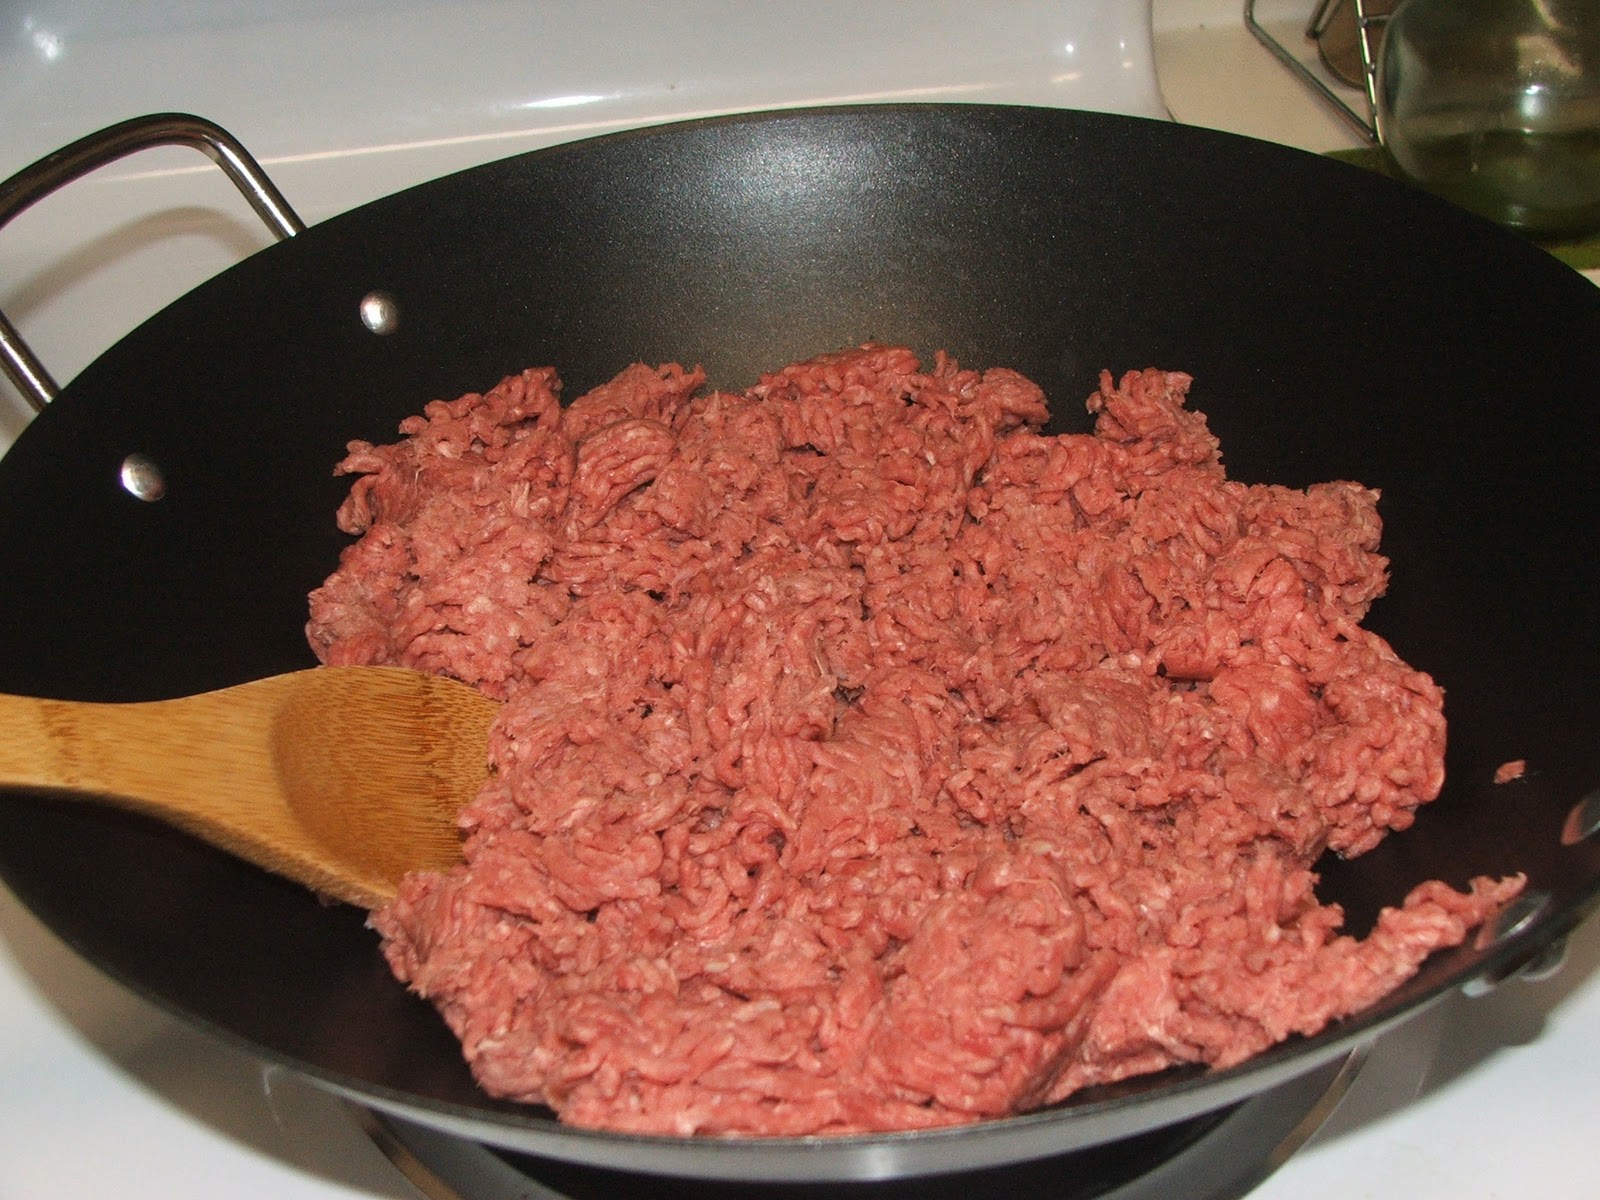
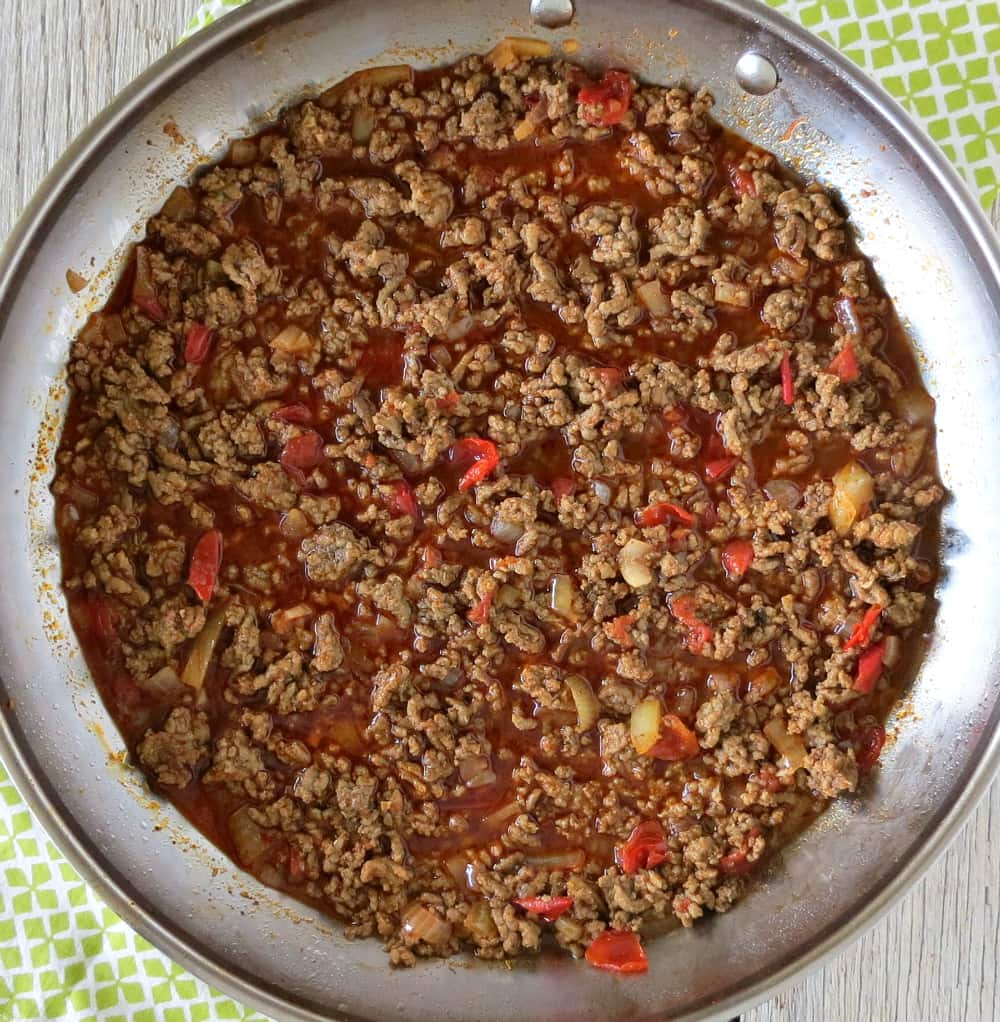
Fully cook your ground beef before draining approximately 3/4 of the liquid and fat from the skillet. Return the skillet to medium-high heat. Add the spices and tomato sauce to the beef and mix well to combine. Continue to cook for an additional 5 minutes or so, stirring often.
Canning Granny Canning Taco Meat
Storage and Shelf Life of Canned Taco Meat. Canned taco meat has a shelf life of 2-5 years. For the best quality, consume it within 12 months. Store canned meat in a cool, dry place and refrigerate any opened jars. Label the storage containers with the name of the product and the date of canning to keep track of the shelf life.

Canning Granny Canning Taco Meat
Pressure Canning Taco Meat. I used my Nesco digital pressure canner to can my taco meat. You will process pints for 75 minutes and quarts for 90 minutes. If you're using the Nesco digital pressure canner, you will add 8 cups of water to the pressure canner and then place your jars inside. Close the lid and make sure the vent is set to exhaust.

Pressure Canning a great Taco Meat Canning Homemade!
Fill pressure canner with water per your PC instructions. Toss chicken with onions, peppers and all the herbs and spices. coating evenly. pack into jars, removing any air bubbles and leaving 1 inch headspace. Add a little cold water or cold chicken broth if needed to come to 1 inch headspace. Wipe rims, add lids and rings to fingertip tight.

Hormel Taco Meats Seasoned Beef Crumbles (12 oz) from Ralphs Instacart
28 Ounces in Each Can (#2 1/2 cans), 1 3/4 Pounds of US Raised and Commercially Canned Taco Beef Filling per can, fully cooked and ready to eat! A total of 21 Pounds of Taco Beef Filling!Perfect item for your Food Storage Plan, Family Preparedness and Emergency Readiness.

Frugal Living on the Watkins Ranch Canning Chicken Chipotle Taco Meat
That's why we invest the time and thought into creating quality meats we can share on a world-wide scale. Bring home Grandma Werling's delicious canned taco beef filling for the whole family to enjoy. Our canned meats come cooked and meal-ready, simplifying your meal preparation. Enjoy the canned taco beef in 14.5 and 28 oz. can sizes.
Homemade Seasoned Taco Meat Recipe to Use in Your Mexican Recipes
Pressure canning taco meat is easy and it means you can have dinner on the kitchen table in minutes.Pressure Canning Playlist https://www.youtube.com/watch?v.
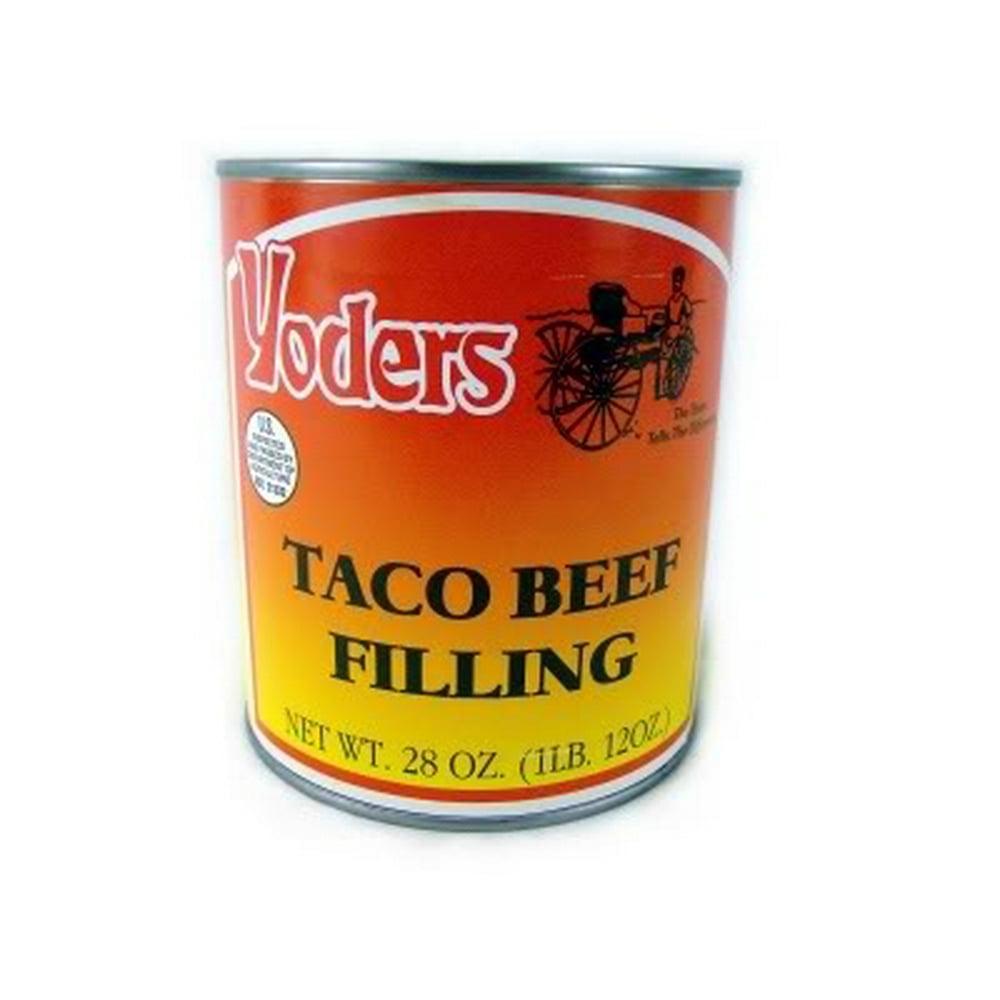
Yoders Taco Beef Canned Meat 28 oz
Stir in cooked, drained, canned brown lentils and cauliflower rice and stir fry for 1 minute. Stir in spices: cumin, garlic powder, paprika, oregano, salt chili powder. Stir in tomato paste, vegetable broth, and vegan Worcestershire sauce. Reduce heat, and simmer for 5-6 minutes or until the mixture thickens.
Canning taco meat for long term food storage YouTube
BEEF TACO FILLING: Pace Taco Complete is cooked with flavorful beef, red peppers, corn, and black beans for a tasty taco filling; READY TO EAT MEAL: Prep time is a breeze! Reheat the taco meat in minutes on the stove or in the microwave for a quick and delicious meal

Taco Meat In A Can Pace Taco Complete YouTube
Processing: Make sure your rack is on the bottom of the canner and place the jars in the pressure canner. Lock the lid and turn up the heat bring the canner to a boil. Vent steam for 10 minutes, then close the vent by adding the weighted gauge or pressure regulator (for dial gauge canner). Process for 90 minutes at 10 lbs of pressure (11 lbs.

Vanee 356T3 48 oz. Can Beef Taco Filling 6/Case
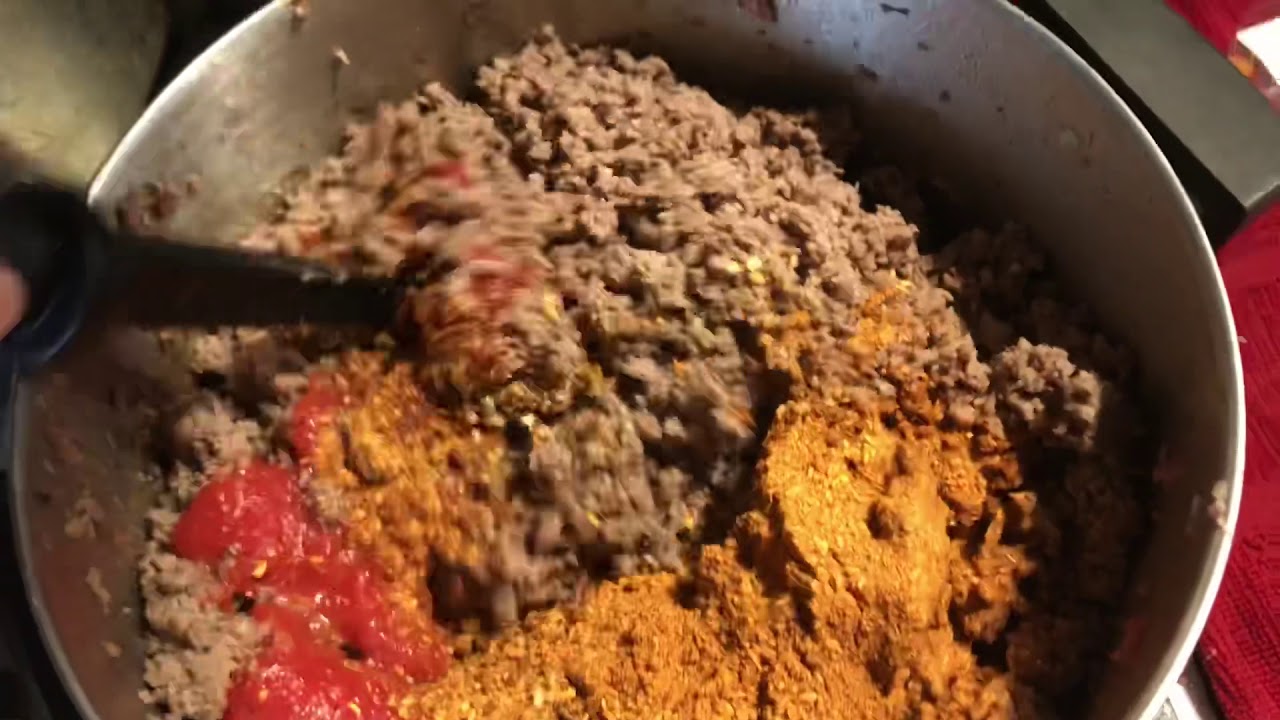
Prepare pressure canner per canner instructions, filling with water. Bring canner to a low simmer. Cook the ground beef in a large pot with 4 cups of water. until just cooked. Drain meat. Put meat back into pan and add tomato paste, taco seasoning and 2 cups of water. Bring back up to heat. Put 7 cups of water on to boil.

Pressure Canning a great Taco Meat homemade canning
Time Given Is Approximate. Uneven Microwave Heating May Cause Popping, Movement Of The Bowl And/Or Splattering. 1. Heat Taco Filling, Covered, In Medium Microwavable Serving Bowl On High 1 1/2 Min. Or Until Hot. 2. Careful, Leave In Microwave 1 Min. Stir Before Serving. Fills Seven Tacos (About 3 Tbsp. Filling Each)

Canning Granny Canning Taco Meat
Combine the beef/onions, canned chiles, spice mix, and two pints of the tomato juice. There should be just enough juice to help the spices mix into the meat and start to create a sauce. Taste and adjust seasonings to your taste. Keep on low heat, stirring occasionally. In a separate saucepan, begin simmering the rest of the tomato sauce.
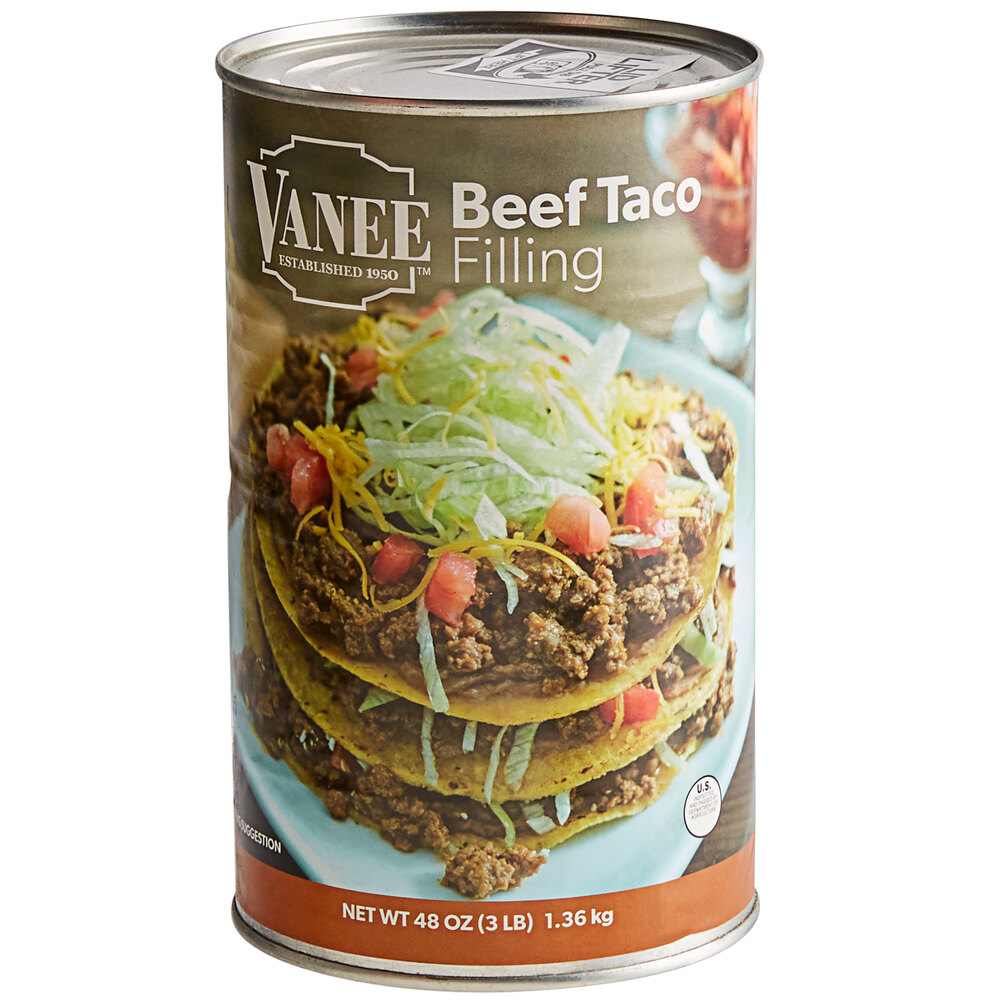
Vanee 356T3 48 oz. Can Beef Taco Filling 6/Case
Remove fat from undrained canned beef or undrained canned pork. Add onions, granulated garlic, pepper, tomato paste, water, and seasonings. Blend well. Bring to boil. Reduce heat and simmer for 25-30 minutes. Stir periodically. For topping: Set cheese aside for step 5. Combine tomatoes and lettuce. Toss lightly.
